Automatically Add Metadata to Multiple Files Uploaded to Sharepoint 2013
This is very unusual – I have used the "F" word and metadata in the same sentence. But that is precisely what this postal service is all about. Despite existence a staunch supporter of metadata, I realize that many users might not necessarily go buy-in with metadata right away. If that is the case – this trick below might gratify both the binder conservatives and metadata liberals. And to help us out, we will use a feature chosen Column Default Value Settings. Allow me explain to you what it is and how to apply this feature to tag files with metadata based on folders.
What are Cavalcade Default Value Settings?
Cavalcade Default Value Settings is a characteristic of a document library that allows you to associate (map) folders with particular metadata columns. Once configured, documents dropped into folders will get the respective metadata assigned to the folder.
How to gear up Column Default Value Settings?
Pace 1: Create your folder hierarchy
The first stride in the procedure is to create your folder hierarchy. I presume your IQ is high enough to know how to create new folders in SharePoint so that I won't be roofing those steps here. Go alee and create folders and subfolders, don't go crazy with deep binder hierarchies – try to keep information technology as flat as possible. Later on, we volition need to map these folders to metadata, so the more folders you lot create, the more than set up it is for y'all. In my case, I created two levels of folders, top-level with Customer Names (i.e., Facebook, Google, Microsoft) and subfolders underneath each client binder for unlike types of documents (i.eastward., Invoices, Quotes, Contracts).
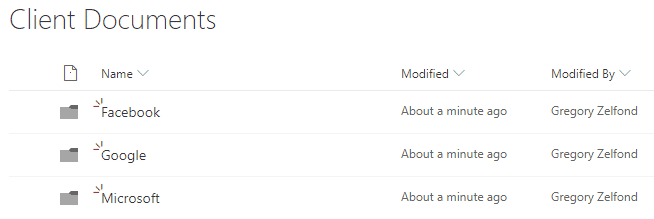
Elevation Level folders (Level ane)
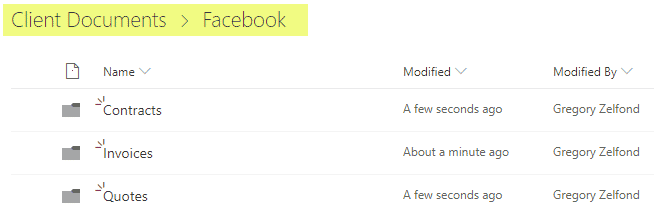
Subfolders (Level ii)
Step 2: Create your metadata columns
At present it is fourth dimension to create metadata columns. To do this:
- Click Add column, select Choice
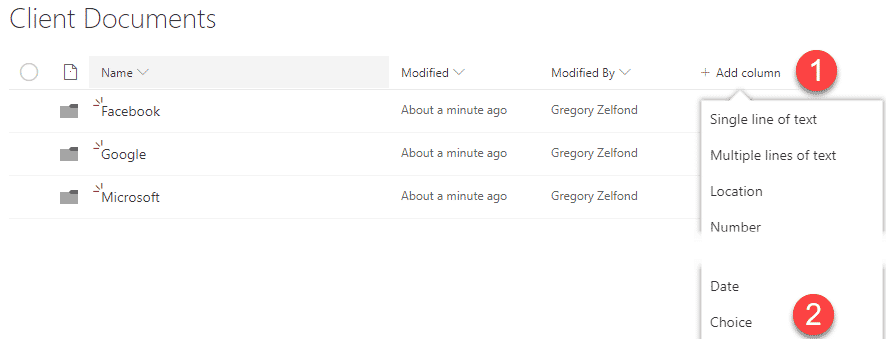
- Fill up in the column name, and then drop-downward choices, hit Save
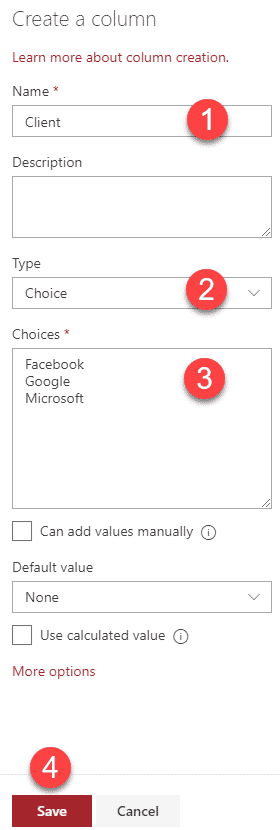
- Repeat for all the metadata columns yous plan to have in your library. In my case, I created ii columns: Customer Name (with a drop-downwardly for customer name) and Document Type (with a drop-down for document types).
Step 3: Map folders with metadata using Cavalcade Default Value Settings characteristic
This is where the fun begins. Now information technology is time to map folders to metadata. To do this:
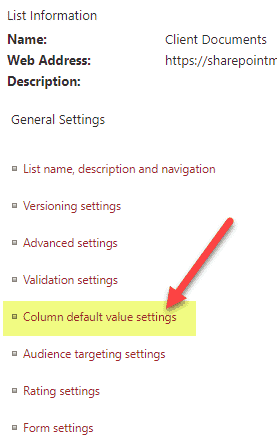
- Navigate to your Library Settings (Gear Icon > Library Settings)

- On the Library Settings page, choose Cavalcade Default Value Settings
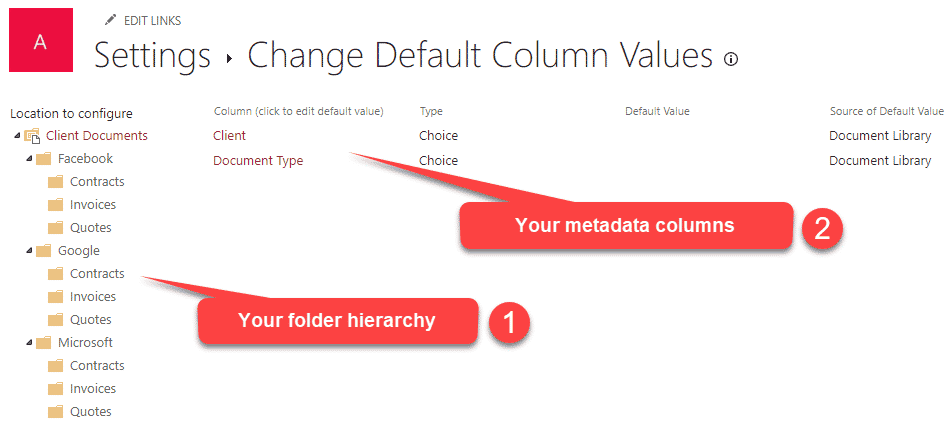
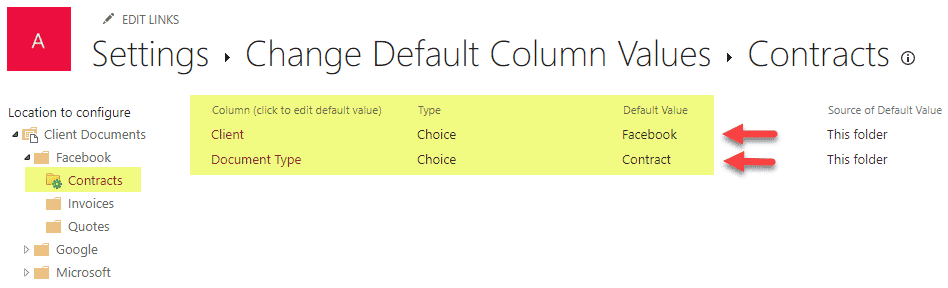
- You lot volition be presented with a screen that looks like ane below. On the left side, yous have your folder hierarchy, and in the eye, you take all your custom metadata columns.
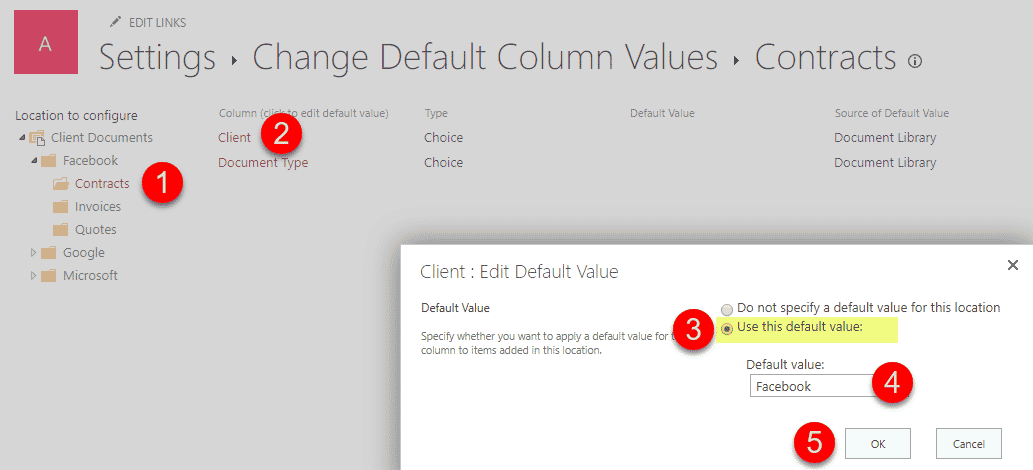
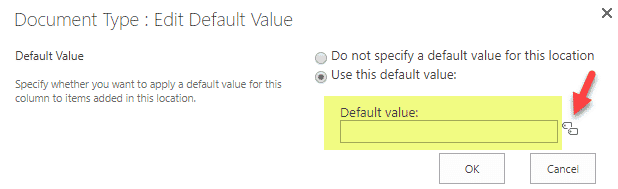
- Then the way mapping works, you starting time click on a detail binder on the left that you lot want to map. And then, in the middle, cull the cavalcade you want to specify a value for. Adjacent, select Apply this default value radio push and type in the same choice text that you have listed in your driblet-down choice columns to a higher place. I know, it is a scrap odd that you need to blazon in text and not cull the choice from the drop-downwards. Make sure to spell it exactly like it is in your column. For case, in my example, I want all documents dropped into Facebook > Contracts folder to be mapped confronting Customer Proper noun = Facebook and Certificate Type = Contract.
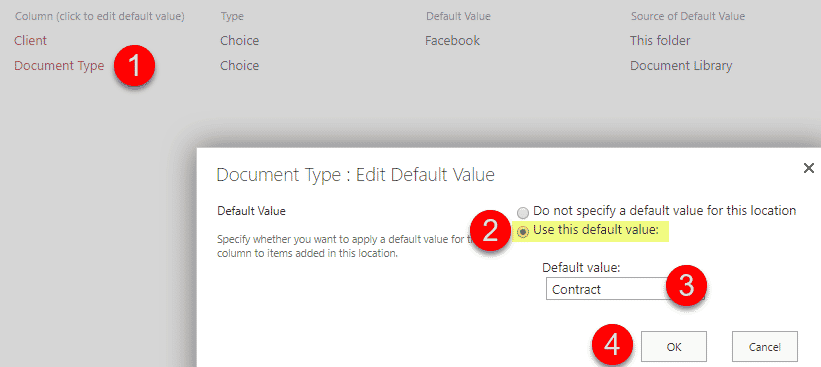
- And repeating for another column
- Once y'all configure a particular subfolder, you lot will observe a greenish gear bike actualization over it on the left-paw-side – that means the folder has been mapped to some metadata. So you can now move to the next folder and map it too.
- Repeat the above exercise for all the folders you have (I know, sounds similar fun!)
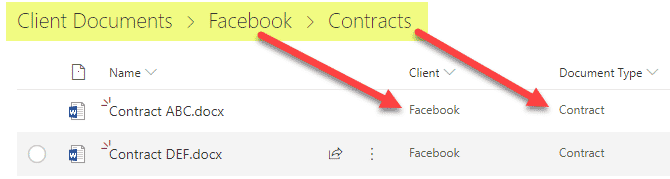
Step four: Upload or drag and drop files into the library
At present it is time to check how this works. Go ahead and upload or elevate and driblet files into the folders. Y'all volition notice that they are now machine-tagged based on the folder they are uploaded into!
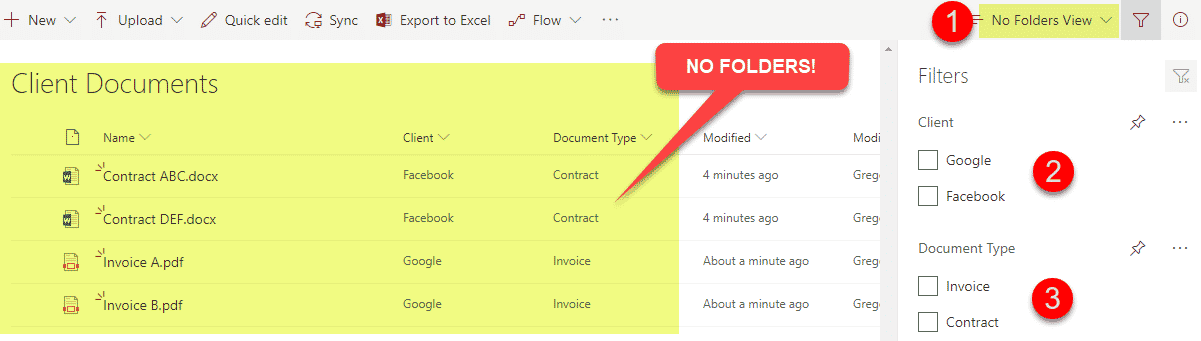
Step 5: Create "No Folders" view
And then we merely appeased the binder conservatives. At that place is no tagging whatsoever, all they take to do is upload files just like they did for the final twenty years. Only what about usa, metadata liberals? We don't want to see those pesky folders in our view, we love metadata and wish to sort and grouping and folder by all those columns we have! No problem at all. This is where custom views go handy. And the trick here would exist to hibernate (suppress) folders altogether. I published a postal service on how to practice this previously, so check it out for detailed instructions. Once completed, you will end up with a "folder-less" library that allows yous to sort/grouping and filter based on metadata that got car-populated for you lot. Prissy!
Limitations
Before yous say "Greg, what you lot only showed me here is @#$% crawly," I want y'all to be aware of a few significant limitations which might make you say "@#$%" word for a different reason.
You lot have to type in the default values
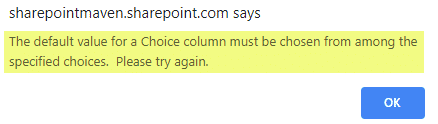
If you recall in Step 3 above, you lot had to type in the Text value of your metadata, even though it was a drib-down (Pick) column. It might be a bit abrasive and overwhelming, specially if y'all have a long list of drop-downward choices and don't think of yourself as a right candidate for a spelling bee competition. If y'all practise provide a choice that does not exist in the drop-down or misspell it – it will let you know, which is nice!
That said, if you lot defined your metadata in the Term Store (managed metadata), the behavior is different, and you will go a list from the Term Shop to cull from! Another reason for you to apply the mighty Term Store!
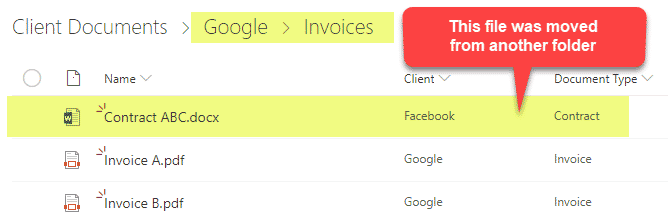
Car-tagging does not piece of work with Movement or Copy commands
This is a big one, in my opinion. Say, you uploaded the docs to a folder, cheers to Column Default Value Settings, they got some metadata tags assigned. At present, if you lot move or copy the document to another mapped folder, the metadata will not accommodate accordingly. The onetime metadata values will remain assigned, consistent with the beliefs of a Move/Copy command.
Auto-tagging does not work for files already residing in folders
Too, if you already had files in folders and and then went through the pain of mapping them all to metadata using the instructions higher up, those files will be ignored and not tagged. 😥
Auto-tagging does not work with site templates
In case you use Column Default Value Settings on a projection site that you think of replicating using Site Templates, practice not bother! I learned the hard way at one point, but those practice not work/replicate with Site Templates. Reference this mail to learn more than about the upshot.
Also much overhead
Honestly, I exercise not like to apply Column Default Value Settings much. Too much maintenance, in my stance. Y'all accept to create folders, create metadata, views, then as well maintain proper mappings between the 2. Every time someone creates a new binder or metadata value – someone will need to create a new mapping. Merely, this option does the chore and become handy if y'all have a disciplined approach with folders and metadata in your organization.
Source: https://sharepointmaven.com/how-to-automatically-tag-files-with-metadata-based-on-folders-in-sharepoint/
0 Response to "Automatically Add Metadata to Multiple Files Uploaded to Sharepoint 2013"
Post a Comment